

Want to unlock all achievements and endings in Heartfall — A Tale in Three Lives? You’ll need to follow different story routes and make specific choices at key moments. Some endings trigger from your dialogue choices, while others require you to save a character, let someone die, or refuse to follow a plan.
This guide covers all 12 routes, the achievement associated with each route, and the steps to unlock all endings in Heartfall – A Tale in Three Lives. I’m still working on the remaining achievements and will share their exact unlock steps soon.
Spoiler warning: This guide reveals major story events and endings. Some routes also contain disturbing scenes involving death, blood, horror, and body horror.
Route 0: Have We Been Here Before?
Achievements: So That’s How It Went, That’s Not How It Went
This route reveals the main story very closely and you should play it first so you can get used to the game’s mechanics.
How to start Route 0
First know about yourself by choosing Who am I? Where am I? and What am I doing here?
Once done, select the Let’s move on to continue the story.
Go near the sparkling object to obtain x1 Pickaxe, x1 Iron Sword, x1 Wood Axe.
Inspect all the nearby sparklings, and one will let you Follow the trail – select You bet?
Inspect some more sparklings on the right side, and you will see footsteps leading to the village. Go to the village – select Follow it.
Inspect this house, which has paper pinned on the door.

Select these chocies:
- Take a look
- Time to find out if you are illiterate
Interact with Scar and select these choices:

- Nope
- Your secret is safe with me
- It’s Grian
- Why’d you think you can trust me?
- Waah! Who said anything about allying? Why even?
- I’m listening
- It’s a little hard to miss
- I like where your head is
Accept the quest – Cause mischief with Scar?
Exit from the village and Follow the Mountain Trail.
Go into the caves to get the flint and steel. Interact with the Trolley

There you’ll see Bigb and Martyn.
- Sneak up and get the jump on them
- HI DUDE!
- The name’s Grian
- Nope, you are out. Too much caving for one day.
You’ll get Flint and Steel.
Go to the Village and give the flint and steel to Scar.
Distract Etho, and Scar will burn the Mystic Tree.
Go to the entrance of the village and interact with Scar
- Seek monopoly
During the night, lead the creeper toward Scar.
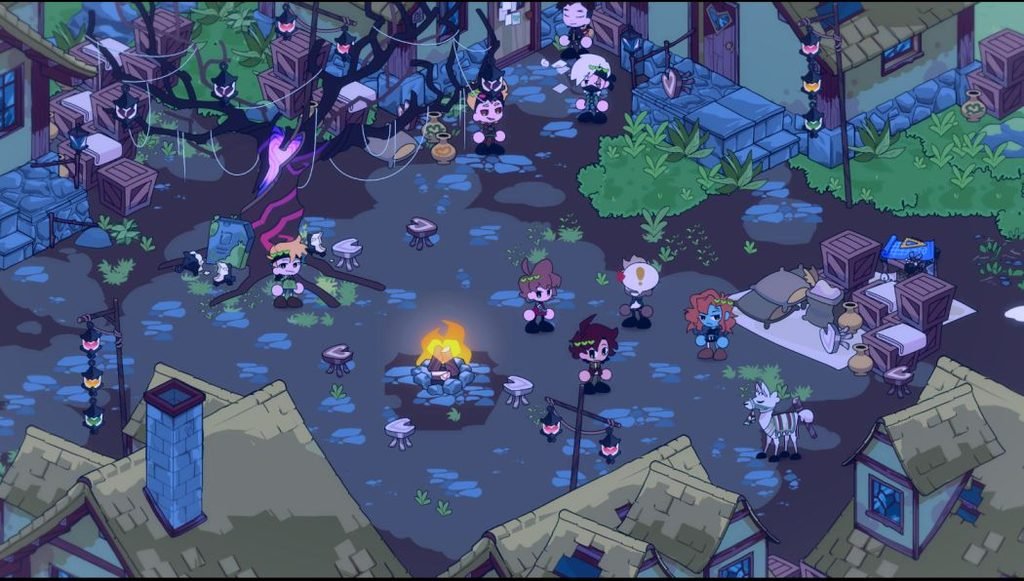
After Scar dies, promise to stay with him until you lose your first life.
Follow Scar into the desert and stay with him through the night.
Save your game in a separate slot before continuing. You’ll need to replay parts of this route to obtain both achievements.
Achievement: So That’s How It Went
Follow the main story and don’t make those choices that would change the original sequence of events.
When Jimmy and Scott offer to take you on a cow heist while you’re gathering base materials, decline.

When you meet Martyn in the village, don’t complain too much about Scar. Select – It’s enjoyable.

If Martyn offers to take you with him, don’t accept.
After the tree magic trick, Martyn may ask you to commit a crime with him. Decline his request.
During the Dogwarts fight, Martyn will attack you and Scar with his axe. When you get the option, do not take the blow.
If you take the blow, then you’ll lose your first life and won’t get this achievement on the current playthrough.
Continue following the story. After the battle, Scar and the remaining characters will go through the events involving BDubs, BigB, Impulse, and the No Kill Pass.
Eventually, Scar will leave you on red. Follow the story until you reach the final confrontation in the desert. Win the fight against Scar and jump off the cliff when prompted.
The achievement will unlock after your death.
Achievement: That’s Not How It Went
Start Route 0 again or load the save from before the Dogwarts fight. Keep the earlier choices the same as in the previous ending.
When Martyn attacks you during the fight, choose to take the blow.
This time, you’ll lose your first life earlier, putting you on red before the original story’s events can play out normally.
Scar survives the fight and meets you again after you respawn. Later, during the altered Dogwarts battle, both you and Scar will die.
The achievement will unlock after this ending.
Route 1: The Dark Forest
Achievements: Alone, Beloved, Die, Together
In this route, you have to build your own base instead of moving to Flower Valley with Jimmy and Scott.
Visit the village for the first time and accept the Build a little base? quest.

Decline Jimmy and Scott’s invitation to move to Flower Valley.
Follow the main story route and continue with Scar.
When you pass your house with Scar, insist that you live there.
Choose Take a close look, one last time.
When asked whether to keep your base, select Accept.
These choices will start Route 1.
W.I.P
Route 2: Dog-Eat-Dog World
Achievements: All For Naught, Almost Home, Back Where It Started, I’ll Be Waiting
Follow Route 0 through the first day. When you visit the village, find Martyn and talk to him.
When he asks how you’re doing, choose all the dialogue that complains about your situation with Scar. This will lead toward Route 2.
W.I.P
Route 3: Live, Laugh, Divorce
Achievements: Happily Egger After, Hate Loses, Hate Wins, Love Loses, Love Wins
This route starts when you agree to move to Flower Valley with Jimmy and Scott.
- Visit the village for the first time.
- Build your house.
- When Jimmy and Scott invite you to move to Flower Valley, select Accept.

You are now on Route 3.
W.I.P
Route 4: Ashes and Alliances
Achievements: A Lonely Death, A New Family, A Violent End
This route follows your relationship with Joel and the group at the Crastle.
How to start Route 4
- After exploring the house, find Joel in the forest, west of Jimmy and the cows.
- Help him tame the wolves.
- Talk to him again after completing the wolf-taming sequence.
- Accept his offer to build a cabin together.
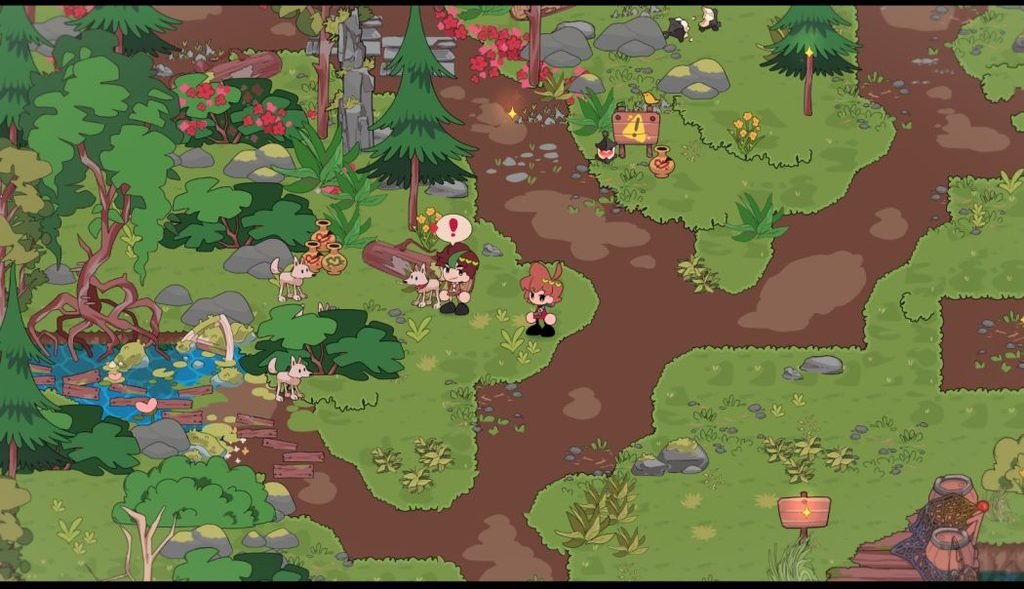
This will start Route 4.
Achievement: A Lonely Death
This ending requires you to leave the Crastle with Joel during Session 6.
The route’s early events include Joel losing his first life during Tango’s Dare to Flare, followed by your own first-life loss after a wolf kills you. Later, the cabin catches fire while you and Joel are sleeping.
Joel goes back inside the burning cabin to rescue the wolves. One wolf escapes, but Joel and the remaining wolves die in the fire.
Afterward, you discover that Cleo started the fire as revenge for Joel hoarding Mystic Wood. Cleo feels guilty about what happened and offers to let you and Joel stay at the Crastle with Cleo and BDubs.
As the threat from Dogwarts grows, you and Joel become allies with the group. You eventually sacrifice yourself for Joel during a fight, and the two of you talk about being willing to die for each other.
Save your run in a seperate slot before Session 6
If you want to unlock the other endings on this route, keep a separate save from the night of Session 5. Both endings branch from the choice you make the following morning.
- On the morning of Session 6, go outside and talk to Joel near the Crastle.
- Listen to him talk about his concerns over the coming battle.
- Select this choice when you see it – Run away with Joel.
You will lose reputation with Cleo and BDubs, putting you into this ending.
You and Joel first try to seek shelter with Jimmy and Scott, but Jimmy is dead, and Scott refuses to help. You then go to the beach.
Martyn eventually finds you and explains that the battle has gone badly for your allies. He fights you, and Joel takes the blow meant for you, dying in the process.
With Joel gone, you don’t fight back when Martyn attacks you. This unlocks A Lonely Death.
Achievement: A New Family
Follow the Ashes and Alliances route until the end of Session 4. After you return to the Crastle and help BDubs and Joel settle their argument, Dogwarts will attack. You will take a blow for Joel and lose a life. When you return, Joel will be relieved to see you alive, and you will tell him you would do it again for him.
To unlock A New Family, you must stop Joel from sacrificing himself for you later. Follow these steps carefully because the game is sensitive to your dialogue choices.
When BDubs offers you Mystic Beef after you return to the Crastle, eat it yourself. Do not give it to Joel or the wolf. That night, Joel will ask if you meant what you said about dying for him. Tell him you were joking.
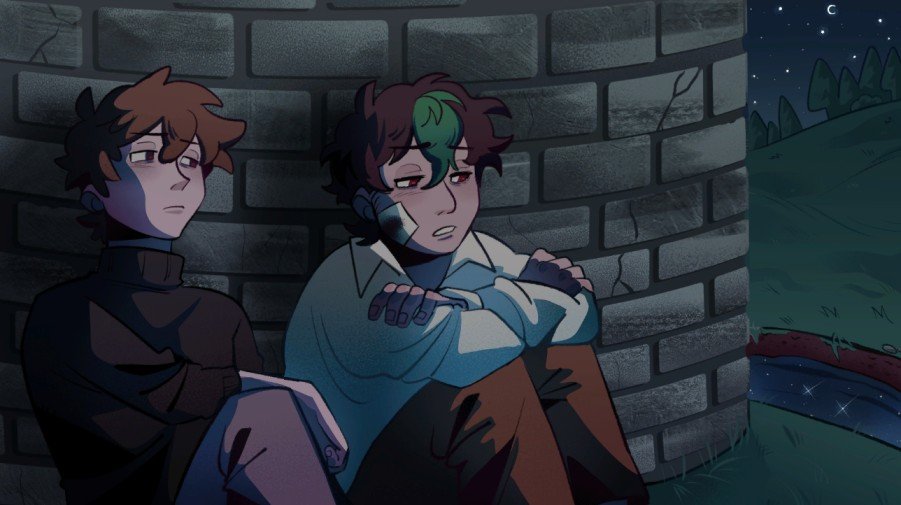
The next morning, ask Scar, Etho, Jimmy, and Scott for help against Dogwarts. The game will give you several chances to tell Joel you would die for him. Choose the least certain responses each time, or talk about someone else to avoid those options.
Do not tell Joel you would do anything for him or that you will figure everything out. In the marsh, you must say you are willing to die, but add that you would rather avoid it if possible.
On the morning of Session 6, choose to stay with the Crastle. Go and collect the allies you asked for in the previous session.
Return with your allies. Cleo may initially think you abandoned her, but she will forgive you when she sees you brought help.
During the final Dogwarts battle, check who takes the blow. You must be stabbed instead of Joel.
The battle will end shortly after you are stabbed. Your allies will gather around you and try to keep you alive, but you will die.
Months later, the Crastle and Joel’s cabin will have been repaired. Joel will be tending to the flower that grew after your death. BDubs, Cleo, and Etho will join him before Scott calls them over for soup. Joel will stay behind briefly to talk to you and explain that he misses you but is happy to have a family.
A New Family will unlock after this scene.
Achievement: A Violent End
Follow the Ashes and Alliances route until you lose a life to Martyn and return to Joel. For this achievement, you need to show Joel that you are willing to sacrifice yourself for him.
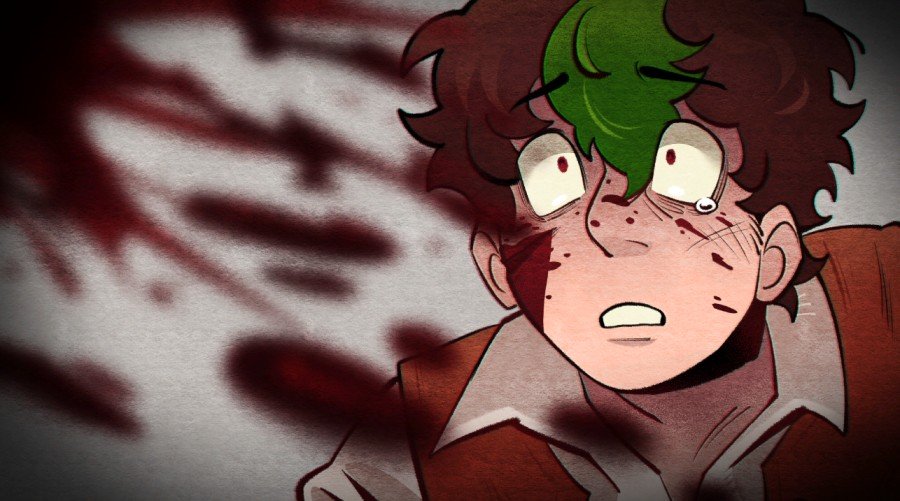
After returning on red, choose dialogue options that show you would die for Joel or do anything to keep him alive. The game gives you several opportunities, so you only need to choose a few of these responses.
That night, Joel will ask whether you meant what you said about dying for him. Tell him you did.
You can also give Joel your Mystic Beef when BDubs offers it earlier that night. This helps show your willingness to sacrifice yourself for him.
Continue the story until the final battle with Dogwarts. You will know the route is correct when Joel takes the blow from Ren instead of you.
Joel will die after you drag him to safety and talk to him. You will then enter a blind rage and try to kill Ren. Martyn will intercept you and nearly kill you, but Scott will shoot Martyn.
Ren will run away, and you will chase him even as BDubs calls for help because Cleo has just lost her second life. BDubs will die while you pursue Ren.
You will catch Ren and kill him after a short fight. When you return to the forest, you will still be consumed by rage and will kill your surviving allies. Cleo will remind you that Joel would have hated what you have become, but she will not fight back.
A Violent End unlocks after this scene.
Route 5: Should’ve Aimed for the Hand
Achievement: Can we go to the desert?
This route begins with Martyn’s offer to cause trouble with you.
- Follow Route 0 through the first day.
- Find Martyn in the village.
- When he asks how you’re doing, choose Do you mean working under Scar?
- Select I’m joking mostly!
- Then choose No, I’m fine, dude.
- After the travelling magic act, accept Martyn’s request to commit a crime with him.
You have now started Route 5.
W.I.P
Route 6: The Cow Heist
Achievements: Perennial Garden, Scorched Earth
This route branches off when Jimmy and Scott offer to take you on a cow heist.
- Follow the main story.
- Before collecting the materials needed to build your base, find Jimmy and Scott.
- When they discuss stealing a cow, choose Okay.
- Accept the Cow Heist quest.
This will start Route 6.
Achievement: Perennial Garden
During the heist, you can tell Scar what Jimmy and Scott are planning. He will not be angry and may even get excited about the chance to gain control of the cows.
The heist will end with Tango catching you, Jimmy, and Scott trying to steal the cows. Jimmy and Scott will blackmail him into joining you in the Flower Forest. Tango will eventually offer to teach you how to use Red Jasper, which reacts with Mystic Sand in the desert.
The experiment will explode, killing you, Tango, Jimmy, and Scott. You will return on yellow, while the other three return on red.
Afterward, you will discover that the village and Flower Garden are burning. Tango, Scott, and Jimmy will ask you to investigate.
Make a save here. We’ll need this for another achievement in the same route.
They suspect Scar, but you can still agree to help even if you disagree with them.
To unlock Perennial Garden, follow these steps:
Agree to investigate the fire.
Talk to every Lifer, including Scar. You can find them in these locations:
- Skizz and Impulse: Forest north of the Flower Husbands and Tango.
- Joel: Near his cabin.
- Cleo: At the Crastle.
- BDubs and Etho: Together in the marsh.
- Martyn and Ren: At Dogwarts.
- Scar: On the beach.
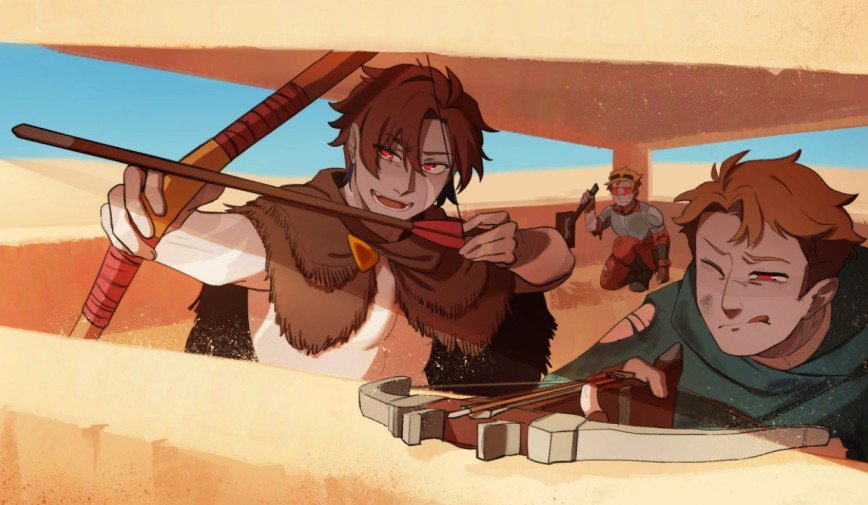
After speaking to everyone, return to Scott, Tango, and Jimmy. They will ask you to choose who caused the fire. Your choice does not matter because the culprit will confess afterward.
The culprit is Joel, who was angry about dying to Tango’s Dare to Flare. Other Lifers will confront and kill him. A flower will grow where he dies.
Continue until Dogwarts discovers that your group has cows. Your allies will deny it, but Dogwarts will give you two days to prepare for a fight.
Win the battle against Dogwarts. Etho will later trap your tower, and the trap will kill you, Scar, Jimmy, and Scott. Tango will survive because he is still wearing armour.
Return on yellow and find Tango in the burned Flower Forest. He will be standing among the flowers of Scott, Jimmy, and Scar and will realise their deaths are permanent.
Tango will ask you to collect stone for gravestones. You can also make gravestones for two other dead Lifers whose flowers you collected.
Later, BDubs will tell you that Cleo and Impulse have died. Collect their flowers and head back toward the Flower Forest.
Martyn and Ren will ambush you. The game will offer you the chance to take a blow for Tango, but you will do it regardless of your choice.
Tell Tango to run as you take the blow and die while watching him escape.
You will unlock Perennial Garden after this scene.
Achievement: Scorched Earth
Load the save when you discover that the village and Flower Garden are burning. Tango, Scott, and Jimmy will ask you to investigate. They will suspect Scar.
To unlock Scorched Earth, follow these steps:
- When Tango, Scott, and Jimmy ask you to investigate the fire, tell them you need to stay with Scar.
- Keep refusing to change your mind. They will eventually let you leave, but you will lose reputation with all three of them.
- The group will continue blaming Scar because they will not investigate the real culprit.
- Reunite with Scar. Since you have broken the alliance, you will no longer have access to the cows, so you and Scar will start looking for farmland.
- Visit the Crastle. Scott, Tango, and Jimmy will be there with some Crastle members, and they will openly distrust you and Scar.
- You will catch fire and die, returning on red.
- Continue searching for farmland with Scar. Talk to BDubs in the marsh, where he is with Etho. He will tell you that most of the server wants to kill you and Scar because they believe you are dangerous.
- Go to Dogwarts. You will discover that the Flower Trio has joined Dogwarts.
- During the argument, Jimmy will shoot you in the chest with a crossbow. You will die in Scar’s arms.

You will unlock Scorched Earth after this scene.
Route 7: Welcome Home, Ally
Achievements: It’s Us Until The End, To Have Your Alliances, and Keep Them Too, Together in the Desert, What Else Did You Expect
Start this route by accepting Jimmy’s offer to catch a cow and become allies.
- Leave the village for the first time.
- Find Jimmy and accept Do you want to catch a cow and be my ally?
- Continue following the main story route.
- When you go to sleep and see the prompt For some reason, it feels like you are forgetting something, select Remember.
This will start Route 7.
W.I.P
Route 8: Music is Magic
Achievements: Dal Segno al Coda, Dal Segno al Fin, Fallen Companions, Self-Inflicted Solitude, Solitude
This route revolves around Impulse’s music box. You can unlock several different endings depending on how you treat Pearl and what you do with the music box.
How to start Route 8
After leaving the library, find Impulse and agree to help him gather materials.

- Chop down a tree in the forest to collect wood.
- Find the diamonds in a crate on the beach.
- Give both materials to Impulse.
- When he asks about what you found inside the house you visited earlier, agree to show him the secret room.
- Continue helping him as he investigates the island and works on the music box.
At the end of the first day, Pearl will reveal herself. If she asks you for food, agree to help her. This keeps her friendly toward you and is important for the endings where she survives.
Achievement: Dal Segno al Coda
For this ending, you need to keep Pearl alive throughout the route and use the music box at the end.
- Continue helping Impulse and collecting books as the story progresses.
- When the group becomes involved in the conflict with Dogwarts, make sure to tell Pearl to run when Martyn attacks you during the desert fight.
- Keep the music box after Impulse turns red and gives it to you.
- Escape with Pearl and reunite with Impulse.
- After the final Dogwarts battle, follow the story until you and Pearl find Martyn at the village.
- Kill Martyn with Pearl.
- Return to the Crastle and discover that Scar is dead.
- When BDubs kills Impulse, retaliate by killing BDubs.
- After mourning Impulse with Pearl, agree to her plan to rewind the island.
- Choose to use the music box.
The story ends immediately after you rewind the island, unlocking Dal Segno al Coda.
Important: Pearl doesn’t have three lives. If she dies at any point, you can’t get this ending on the current playthrough.
Achievement: Fallen Companions
You can unlock this achievement by getting Pearl killed.
Method 1: During the desert fight
- Follow the route until Martyn attacks you during the fight against Dogwarts.
- Instead of telling Pearl to run, tell her to kill Martyn.
- When Pearl starts struggling, stay silent.
Martyn will kill Pearl, and the achievement will unlock after the following sequence.
Method 2: During the final events
- Continue the story until BDubs kills Impulse.
- Instead of killing BDubs, try to talk to him.
- When Pearl tries to kill BDubs, attempt to stop her.
Pearl will become distracted, giving BDubs the chance to kill her. The achievement will unlock after the scene.
Achievement: Self-Inflicted Solitude
Follow the same story path as Dal Segno al Coda until you and Pearl return to the Crastle after killing Martyn.
- Find that Scar is dead and BDubs blames Impulse.
- Let the events play out until BDubs kills Impulse.
- Kill BDubs in retaliation.
- After you and Pearl mourn Impulse, she will suggest using the music box to rewind the island.
- Voice your concerns about the plan.
- Whenever the game asks you to use the music box, choose not to play it.
- Continue refusing until the game stops showing the option.
Pearl will eventually become frustrated and argue with you. You then break the music box so she can’t use it herself.
She leaves after telling you that she never wants to see you again. This leaves you alone and unlocks Self-Inflicted Solitude.
Achievement: Solitude
This ending depends on how you respond to Pearl when she asks for food.
- Start Route 8 and continue until Pearl reveals herself at the end of the first day.
- Talk to Pearl again when she asks you to get her food.
- Repeatedly refuse to help her.
Pearl will become angry and leave. When you return to the village, Impulse will reveal that he already knows Pearl and tell you that he doesn’t think you’re a good fit.
He will turn you away, unlocking Solitude.
Route 9: The Court of Last Chances
Achievements: A Home Where You Are, Dusk Till Dawn, Minutes Past Midnight
You can start this route on Day 3.
- Follow Route 0 until Day 3.
- Leave the desert and find the cow.
- Go to Flower Valley.
- Look for a goose in the bottom-left area.
- Approach the goose and follow it when it runs away.
- Accept the Sabotage the Mystic Tree grove quest.
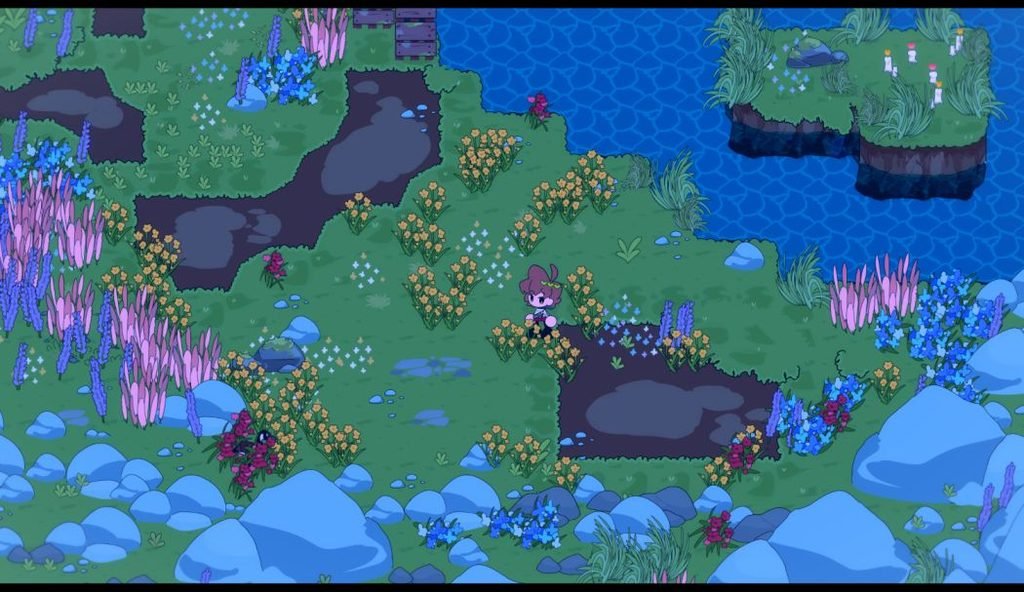
This starts Route 9.
W.I.P
Route 10: Any-fin is Possible!
Achievements: Bass Friends Forever: True Pacifish, Fish or Be Fished: Fishmaster, Goodbye Krill World: Fishing Anonymous
How to start Route 10

- On Day 1, find the sign beside the dock.
- Interact with it and start fishing.
- Keep fishing until you receive a catalogue book.
- Read the book and accept the Gone Fishing quest.

Achievement: Bass Friends Forever: True Pacifish
Spend your days fishing and delivering the treasures you catch to the characters they belong to.
- Fish until you find an item that belongs to one of the other characters.
- Talk to the characters and show them your catch if you aren’t sure who owns it. Scar can also offer clues.
- Deliver the item to the correct character before going to sleep.
- Repeat this process for the remaining gifts.
Successfully giving a gift will cause the recipient to join you for fishing the following day. Many characters also tell you a story when they receive their items.
Some gifts trigger special scenes. BigB quizzes you about the history of cookies, while Scott and Jimmy have a wedding officiated by Scar.
During the route, a Watcher disguised as a slug will appear and try to stop you from fishing. The game will have you throw it back into the water.
Dogwarts, consisting of Ren and Martyn, will also be hostile toward you. Keep delivering gifts to the other characters until they join you at the dock.
Eventually, Martyn will confront you about the island being a death game. Fish until you obtain a manga book and give it to him. He will forget about his plan to kill people and ask you to help Ren.
Continue fishing until you catch a guitar. Give it to Ren, who will join the others at the dock and announce that the Red Winter is coming. In this route, the announcement leads to a guitar performance rather than a battle.
Get Scar to join the group as well. When the Watcher returns in a more intimidating form, place the flowers you received from Scar on its head and hand over your fishing rod.
The Watcher will ask you to teach it how to fish. This completes the sequence and unlocks Bass Friends Forever: True Pacifish.
Achievement: Fish or Be Fished: Fishmaster
Start the Any-fin Is Possible route by interacting with the sign near the dock. Keep fishing until you catch a book, then continue fishing through the following days.
Whenever you catch a gift, deliver it to the intended character. Do not give away the manga or guitar during this achievement run. If you are unsure who should receive a gift, show it to Scar, and he will suggest someone.
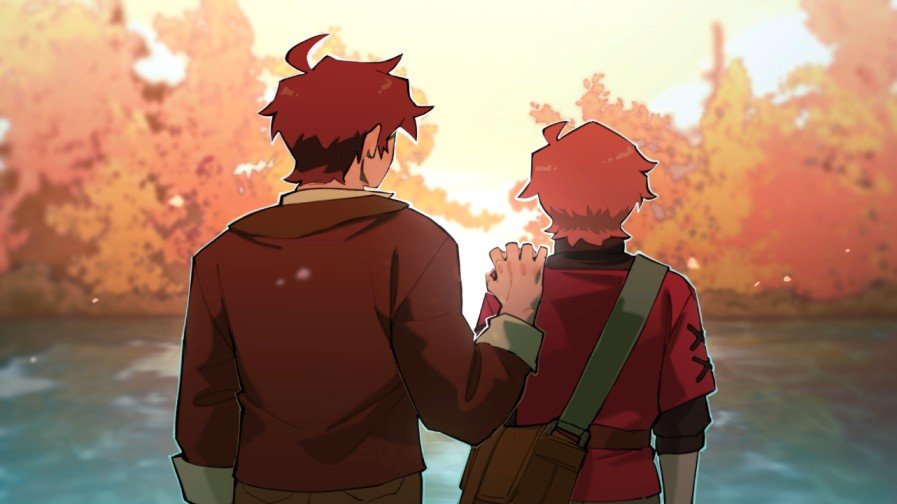
Pay attention to the fish you catch, as you will need to identify them during a later fishing competition.
- Continue fishing and delivering gifts until Martyn arrives to explain the death game.
- When you catch the manga, do not give it to Martyn. He will return to Ren.
- The next morning, Ren will arrive with Etho and Martyn and challenge you to a fishing competition.
- During the competition, look at the fish you are asked to catch and choose the pool containing the matching fish.
- The first round’s correct answer is the first pool, while the third round’s answer is the third pool. The second round may be unwinnable.
- Continue through the competition and its ending conversation. Ren will promise to return for another competition, and the Watcher will leave after accepting the contest.
- Scar will come over to congratulate you if you win. If you feel sad about what comes next, he will comfort you and remind you that you have found something worth doing.
The achievement will unlock after your conversation with Scar. The competition’s outcome may not matter, but this has not been fully confirmed.
Achievement: Goodbye Krill World: Fishing Anonymous
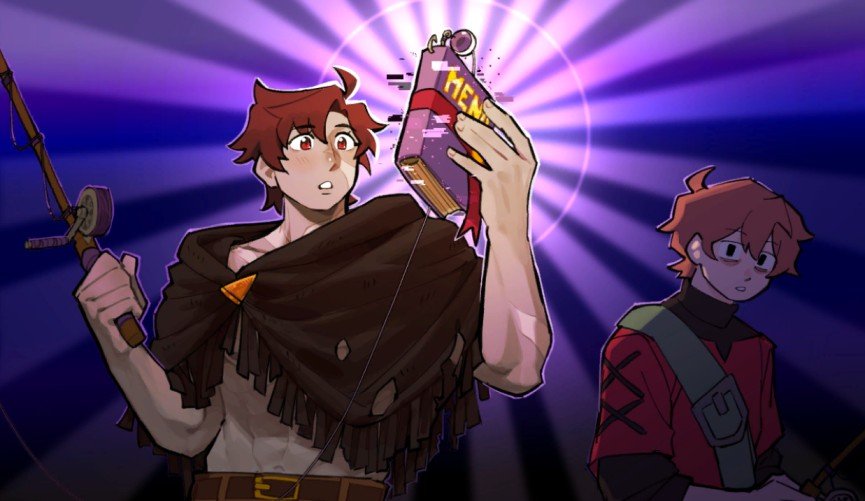
Start the Any-fin Is Possible route by interacting with the sign near the dock and fishing until you catch a book.
For this achievement, keep every gift you catch instead of delivering it to other characters. Do not give gifts to anyone, especially Martyn. As a result, nobody will join you in fishing apart from Scar, who will continue spending time with you.
- Keep fishing throughout the route without delivering any gifts.
- On Session 5, you will wake up wanting to find the last book in the catalogue. Head toward the dock.
- You will find Scar on yellow along the way. He will tell you that everyone is fighting, but you will push past him and continue to the dock.
- Start fishing. The Watcher slug will appear and try to make you stop.
- Grian will continue fishing without listening. You will eventually start pulling out things that should not exist, including code, Impulse’s music box, and unused assets.
- The world will begin to break apart as the Watcher talks to you.
- Scar will return on red. Although he is upset that you pushed him and that the world is falling apart, he will sit beside you and start fishing.
- Scar will quickly catch the Mending book you have been trying to find. Grian will become angry and try to kill him over it.
The game will end before Grian can kill Scar, and you will unlock Goodbye Krill World: Fishing Anonymous.
Route 11: Wolf in Sheep’s Wool
Achievements: A Promise Fulfilled, Never Alone Again
This route starts with a hidden statue and an altar quest. Both achievements share the same opening, but the final choice determines which ending you receive.
Content warnings: Horror, body horror, starvation, depersonalization, derealization, scopophobia, and trypophobia.
How to start Route 11
- At the beginning of the game, find the statue near the pool where Grian wakes up.
- Interact with the statue several times until you can start a staring contest.
- Choose Stare back and continue staring even when the game tries to discourage you.
- Keep going until the statue blinks.
- Leave the starting area and find the altar on the beach, west of where you woke up.
- Interact with the altar and accept the Something about it feels… familiar quest.
Find the missing orb pieces
You need to collect the missing pieces from three locations.
- The forest: Search the forest for one of the pieces.
- The house with the Who’s Who board: Enter the house and look for the missing piece.
- The mountain cave: Explore the cave for the remaining piece.
Return the pieces to the statue once you have collected them all.
After completing the altar quest, continue the story. You’ll gradually regain your Watcher powers and begin to understand what is happening on the island. The former Evolutionists, including Jimmy, Martyn, and BigB, can also sense that something is wrong.
Eventually, you’ll remember the Watchers and try to help your friends escape. The story leads to a confrontation at the volcano, where you must decide whether to stay with your friends or take a drastic action.
Achievement: A Promise Fulfilled
Follow the route until the group reaches the volcano and the Watchers try to stop you from escaping.
Make a save here.
When you get the final choice between staying with your friends and doing something drastic, select Do something drastic.
You’ll open the portal beneath your friends without escaping yourself. They will protest, but they can’t stop you. You remain behind with the Watchers, who kill you.
Your sacrifice allows your friends to escape, and the achievement unlocks afterward.
Achievement: Never Alone Again
Follow the same story until the group reaches the volcano and you face the final decision.
This time, choose Stay with your friends instead of taking the drastic action.
The outcome is disturbing: Grian eats his friends. The achievement will unlock shortly afterward.
Heartfall: Achievements and Endings I’m Still Working On
Some Heartfall achievements and endings don’t have confirmed unlock steps yet. I’m still working through these routes to find the exact choices and requirements. I’ll update this guide as soon as I verify the steps for each one.
The following achievements still need further testing:
- Route 1 – The Dark Forest: Alone, Beloved; Die, Together
- Route 2 – Dog-Eat-Dog World: All For Naught; Almost Home; Back Where It Started; I’ll Be Waiting
- Route 3 – Live, Laugh, Divorce: Happily Egger After; Hate Loses; Hate Wins; Love Loses; Love Wins
- Route 5 – Should’ve Aimed for the Hand: Can we go to the desert?
- Route 7 – Welcome Home, Ally: It’s Us Until The End; To Have Your Alliances, and Keep Them Too; Together in the Desert; What Else Did You Expect
- Route 8 – Music is Magic: Dal Segno al Fin
- Route 9 – The Court of Last Chances: A Home Where You Are; Dusk Til Dawn; Minutes Past Midnight
I’m actively working on these achievements and endings to find reliable, step-by-step instructions. I’ll update this article as soon as I confirm how to unlock them, so check back for the latest information.



I love this guide! I just wanted to add that when you’re doing route 10 (the fishing route) if you keep fishing when you don’t have any more items to collect, you eventually get a fisherman’s outfit that you can put on! Not sure if this is possible every session but it’s at least possible from session 4, after you get the guitar. It’s not an extra achievement or anything but might be nice to include in the guide as otherwise people may miss it.